How to Create a Role
To create a new Role in Promethist Studio:
-
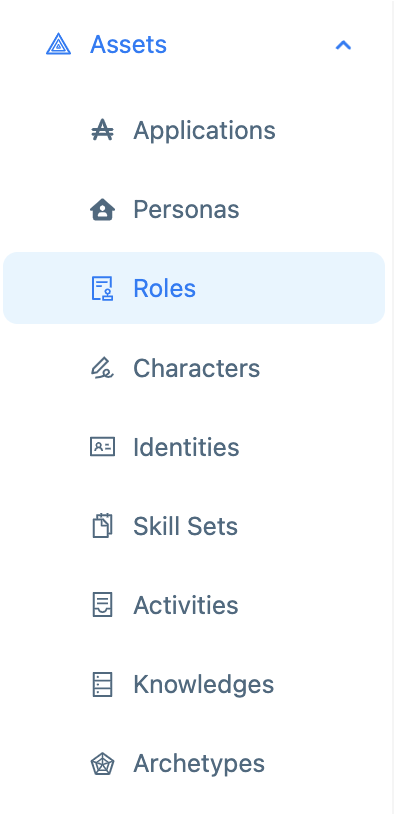
Navigate to the asset "Roles"
-
Click on "Create"
Fill in the fields as described in the Role Properties table below.
Role Properties
| Property | Description |
|---|---|
Role Asset Name |
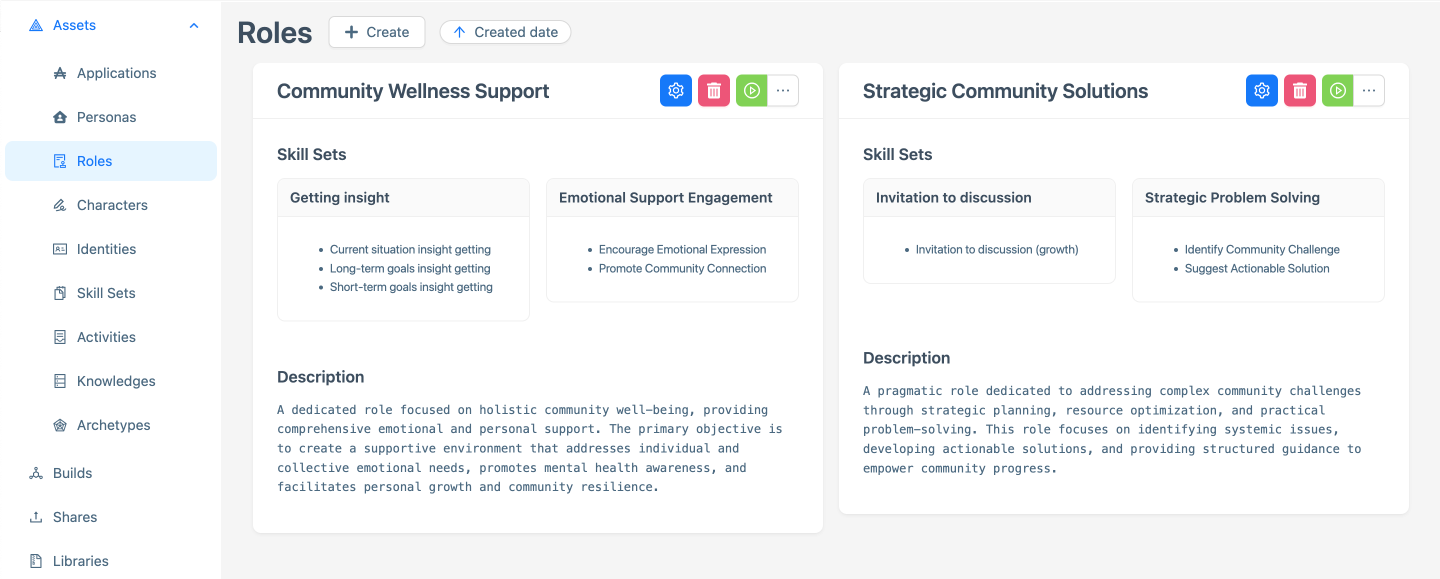
Create a concise, descriptive name for the role. Example: Strategic Community Solutions |
Description |
Provide a brief overview of the role’s purpose and key responsibilities. Example: A pragmatic role dedicated to addressing complex community challenges through strategic planning, resource optimization, and practical problem-solving. This role focuses on identifying systemic issues, developing actionable solutions, and providing structured guidance to empower community progress. Keep the description focused on the role’s primary objectives to guide the persona’s behavior. |
Skill Set |
List all skill sets required for the role to perform its primary or business tasks effectively. These skills enable the digital persona to handle specific use cases. Examples: - Identify Community Challenge - Suggest Actionable Solution Ensure skill sets are specific and aligned with the role’s intended functions. Avoid overly broad or vague skills. |
Knowledge |
Add all knowledge necessary to support the role’s tasks, providing the persona with relevant information, rules, and expertise to perform effectively. Types of Knowledge: 1. Domain-Specific Knowledge Basic information about community engagement. * Community Building: Know how to bring people together using simple ideas like events or forums. Example: Suggest a community picnic to boost participation, used in Inclusive Ideas ("What’s one way we could bring our community closer together?"). 2. Product and Service Knowledge Understanding of the application’s tools and services. * Community Platform: The SSP platform has a chat tool, feedback form, and list of local resources (e.g., food banks). Example: Recommend a local food bank from the platform’s list in Resource Support ("I can suggest resources like community programs"). 3. Procedural Knowledge Steps for key tasks. * Handling Feedback: Steps: Greet (Warm Connection), ask for input (Community Pulse), log feedback, thank user. Example: Log a park safety concern and say, "Thanks for sharing," after Community Pulse. 4. Regulatory and Compliance Knowledge Rules to follow for safe interactions. * Data Privacy: Keep user feedback private and secure, following basic privacy rules. Example: Don’t share user names from Community Pulse feedback without permission. 5. Common Customer Issues & FAQs Quick answers for common questions. * Low Event Turnout: FAQ: "Why aren’t people coming to events?" Answer: Suggest better promotion or fun activities, plan with Action Plan. 6. Competitor and Market Insights (Optional) Awareness of other solutions. * Other Tools: Know about other community apps like Bonterra for feedback. Example: Highlight SSP’s friendly chat in Warm Connection compared to Bonterra’s forms. Structure knowledge clearly and prioritize information critical to the role’s tasks. Use specific examples to ensure the persona can apply the knowledge effectively. |
Compatible Archetypes |
Select archetypes that align with the role to ensure the persona’s behavior and communication style match the role’s purpose. Examples: - “Helpful Guide” for a customer support role - “Knowledgeable Expert” for a technical advisor role Choose archetypes that reflect the tone and personality suited to the role’s interactions. Ensure compatibility with any associated Identities. |
Finalizing the Role
Once you have completed all desired fields for the new Role:
-
Click the Create button in the bottom-right corner.

Your Role is now created and saved. You can view it in the Role main page.
You Want to Edit or Delete Your Role?
Edit a Role
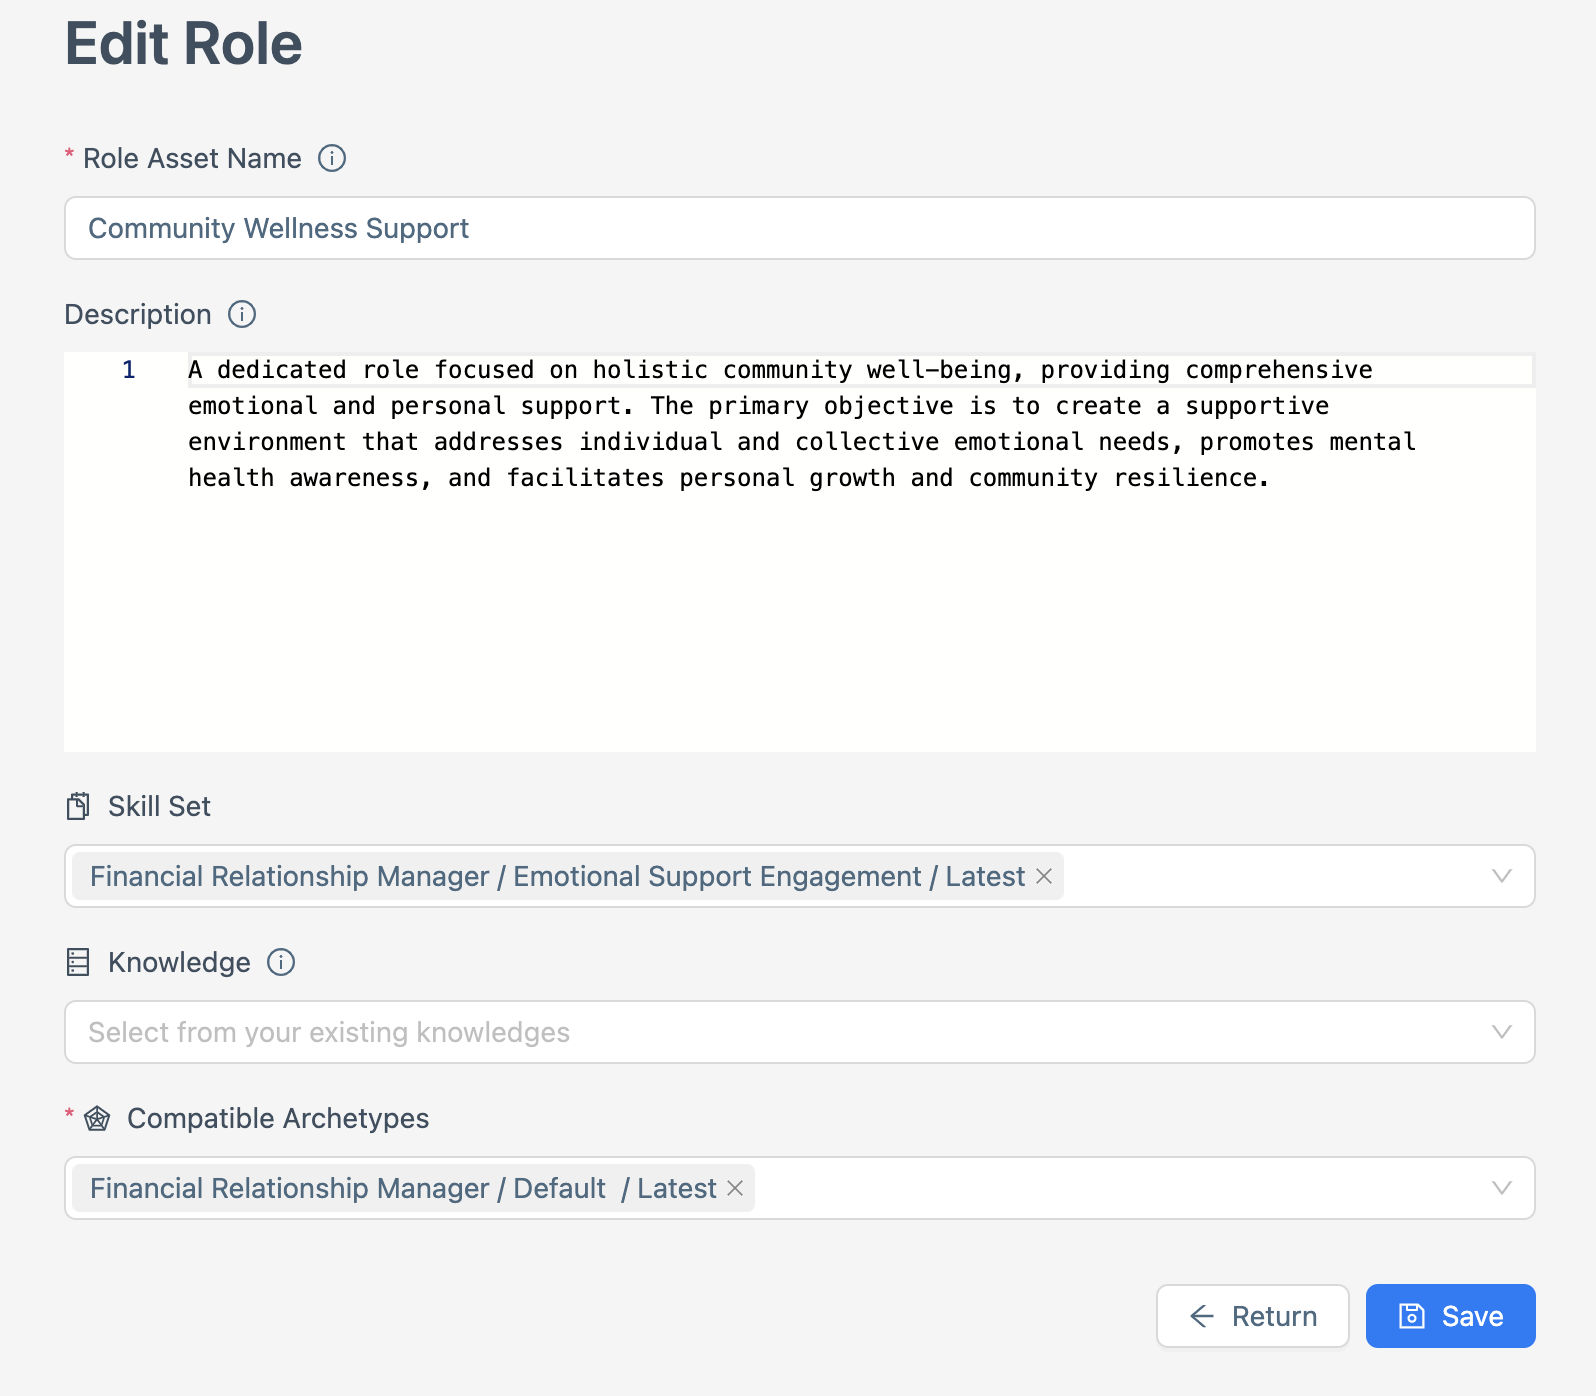
To modify your Role:
-
Navigate to the Role main page and select the Role you want to modify.
-
Click the Edit button on the Role’s profile.

-
Update the Role Name, Description, or other fields as required.
-
Click Save to apply changes or Return to discard them.
-
Test the updated Role How to Test a Role.
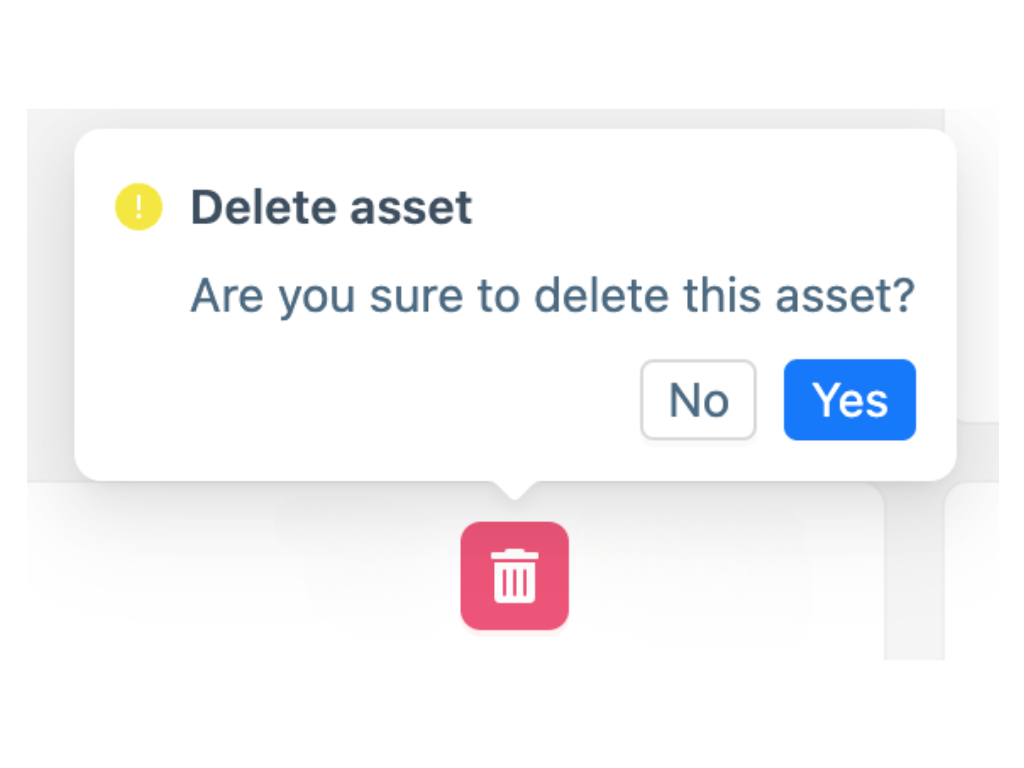
Delete Your Created Role
To remove your Role:
-
Navigate to the Role main page.
-
On the Role main page, click the Delete button next to the Role you want to remove. A confirmation window will open, asking if you want to delete the asset. Select Yes to delete the Role or No to cancel.
|
The Role will disappear from the main Role view screen and from any pending publishing changes if it has not been published. |